How to install the Writing Progress Meter on Wordpress

  1. Log in to your Wordpress account. In the left-hand sidebar, select Appearance → Widgets.

    A screenshot of a Wordpress dashboard with an arrow pointing to the Widgets menu option.
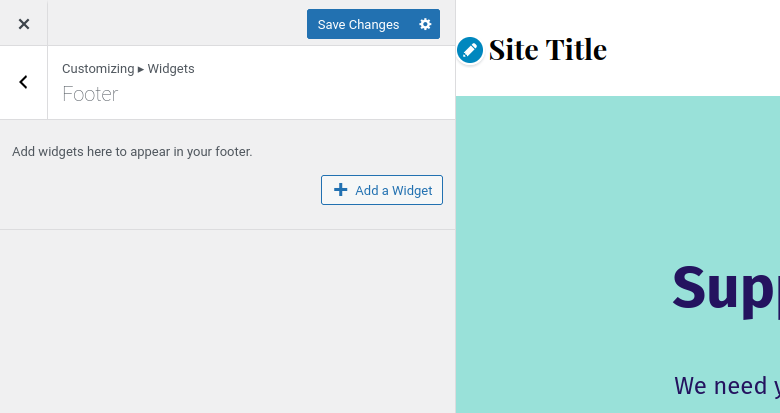
  2. In the left-hand column of the next screen, click the Add a Widget button.

    A screenshot of a Wordpress dashboard with an arrow pointing to the 'Add Widget' button.
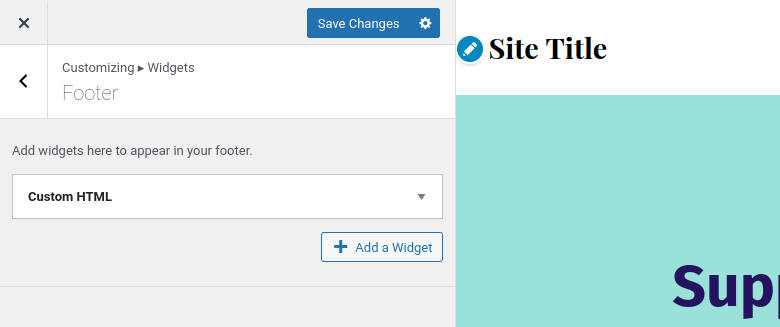
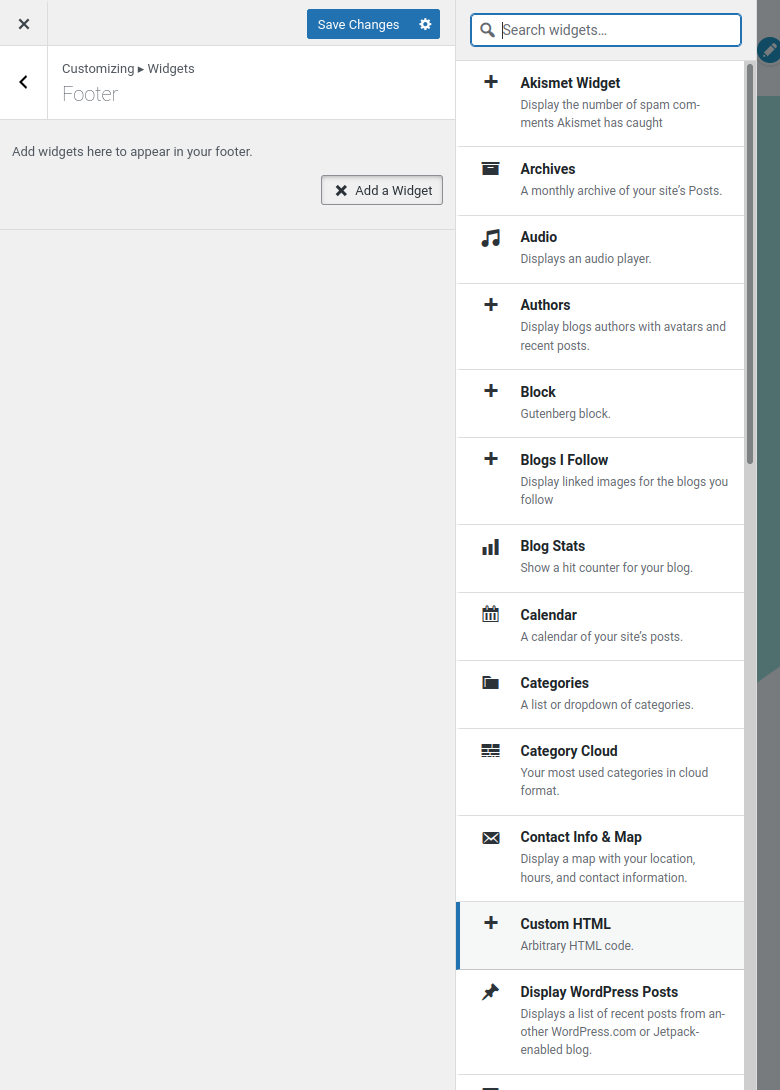
  3. A new list will appear showing a list of available widgets. Scroll down and click on the Custom HTML widget.

    A screenshot of a Wordpress dashboard with an arrow pointing to the 'Custom HTML' widget.
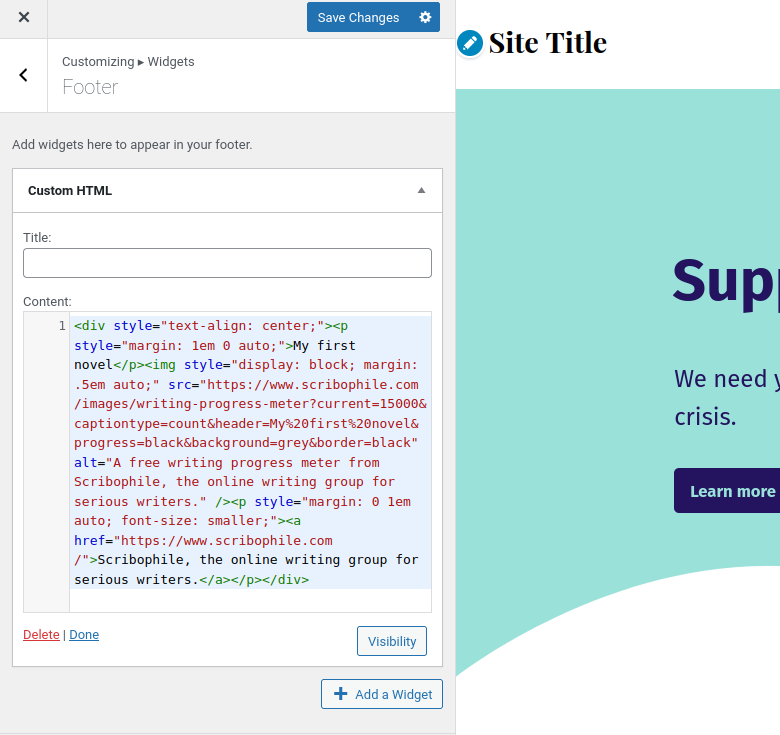
  4. Copy and paste the writing progress meter HTML code into the text box. You don’t have to add a title. Then, click Done.

    A screenshot of a Wordpress dashboard with an arrow pointing to the 'Done' button.
  5. Press the Save Changes button. Your writing progress meter is now live!

    A screenshot of a Wordpress dashboard with an arrow pointing to the 'Save Changes' button.
    A screenshot of a Wordpress blog with a Scribophile writing progress meter installed.